If you have a dedicated room for your makerspace and you're just getting started, it can be useful to begin with a base - and build on it.
A makerspace should incorporate the following essentials and will evolve as you add more items to suit new projects:
- Flexibility in layout
- A space to collaborate and plan
- Purposeful creative space
- Thoughtful storage solutions
1. Flexibility in layout
Making your space flexible lets you accommodate many different activities and year levels.
Tips
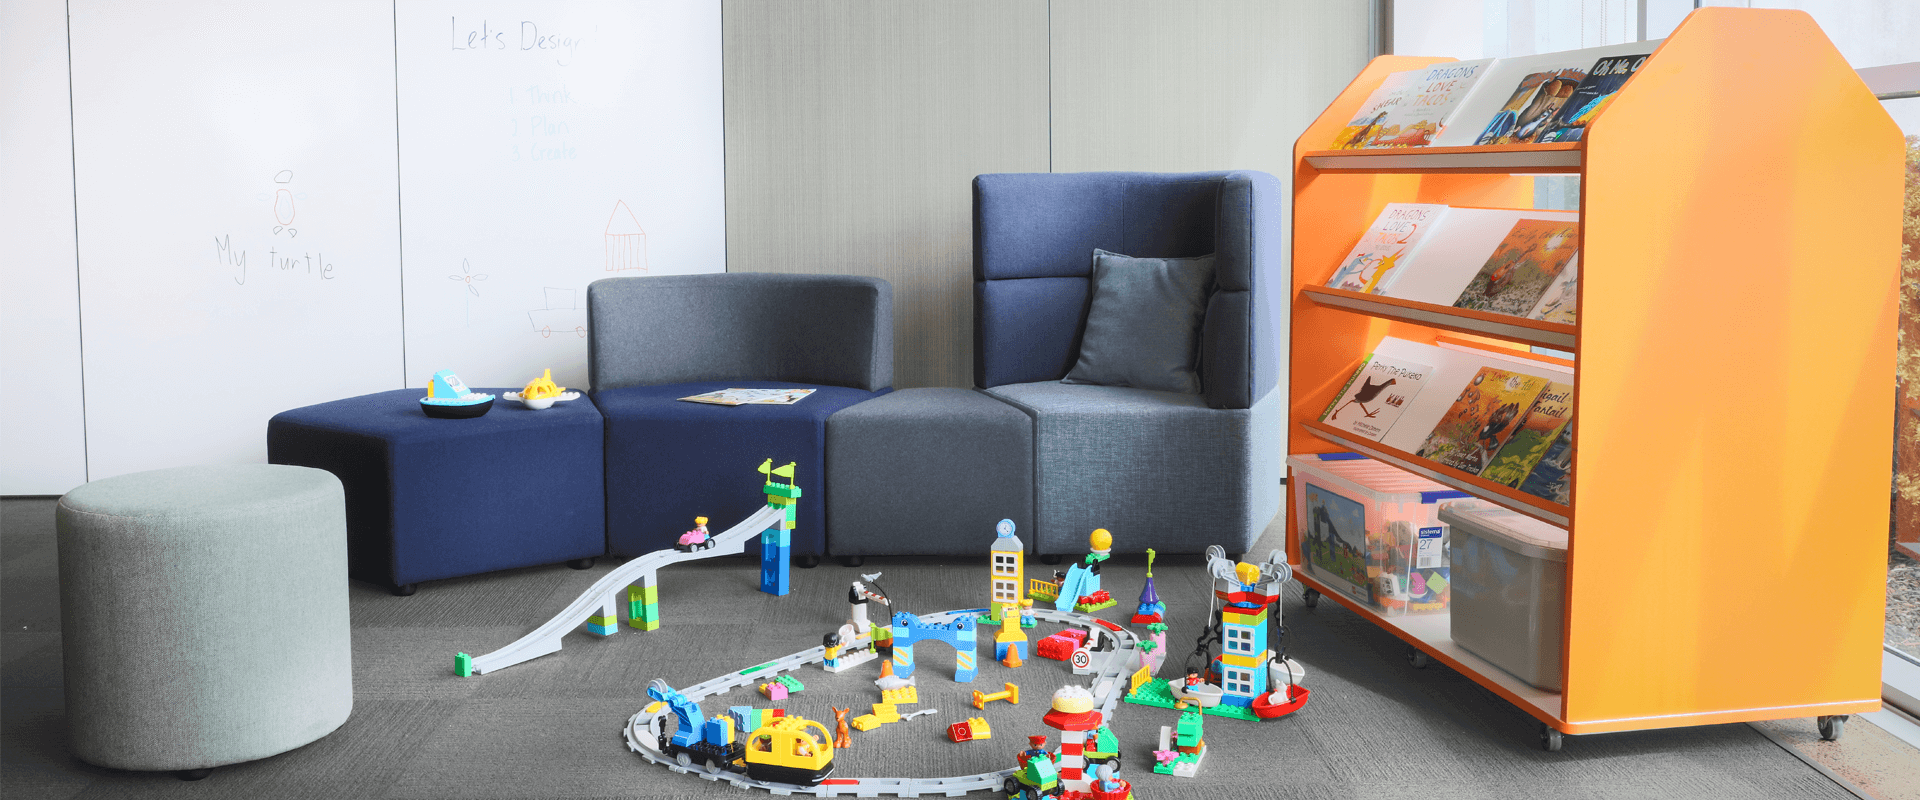
- Make the most of modular seating
Modular seating is easy to move and comfortable to use. It can act as a divider between spaces, and in some cases even helps absorb noise.
- Create clear space
The floor is a great place for many different activities - make sure you can easily clear a space when you need to.
- Create purposeful areas
Shelves with lockable wheels can serve a double purpose. Not only are they good for storage, but they are an excellent divider between spaces. Use these to create purposeful areas within your makerspace.
2. A space to collaborate and plan
Ensure your students have a space to discuss ideas and scribble down designs and plans.
Tips
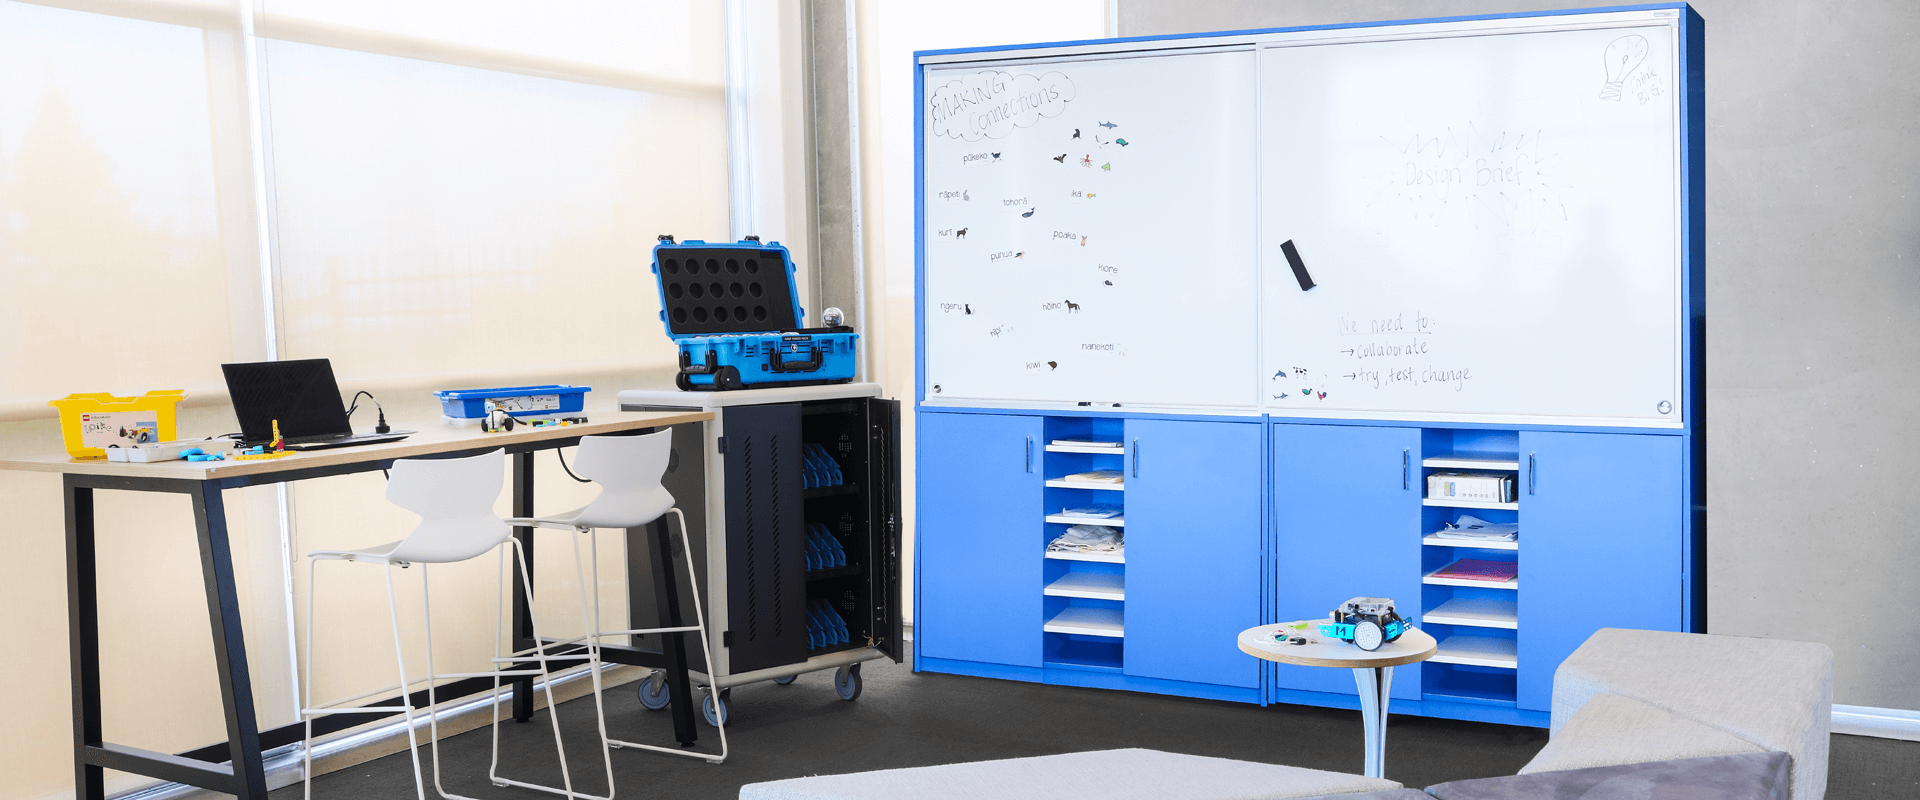
- Display your lesson essentials
Whiteboards/planning walls are an excellent tool to have on hand. They help you display your lesson essentials and give students a blank canvas to brainstorm on.
- Need extra planning space?
Invest in tables and storage units with whiteboards on them.
3. Purposeful creative space
Get more out of your makerspace area by dividing it into specific zones.
Make it easier for students, and easier for you
- Students always know where to go for certain activities e.g. 'wet' area for painting.
- It's easier to keep track of items - and easier to ensure students clean up and put things back where they should be.
Some purpose-specific areas to consider:
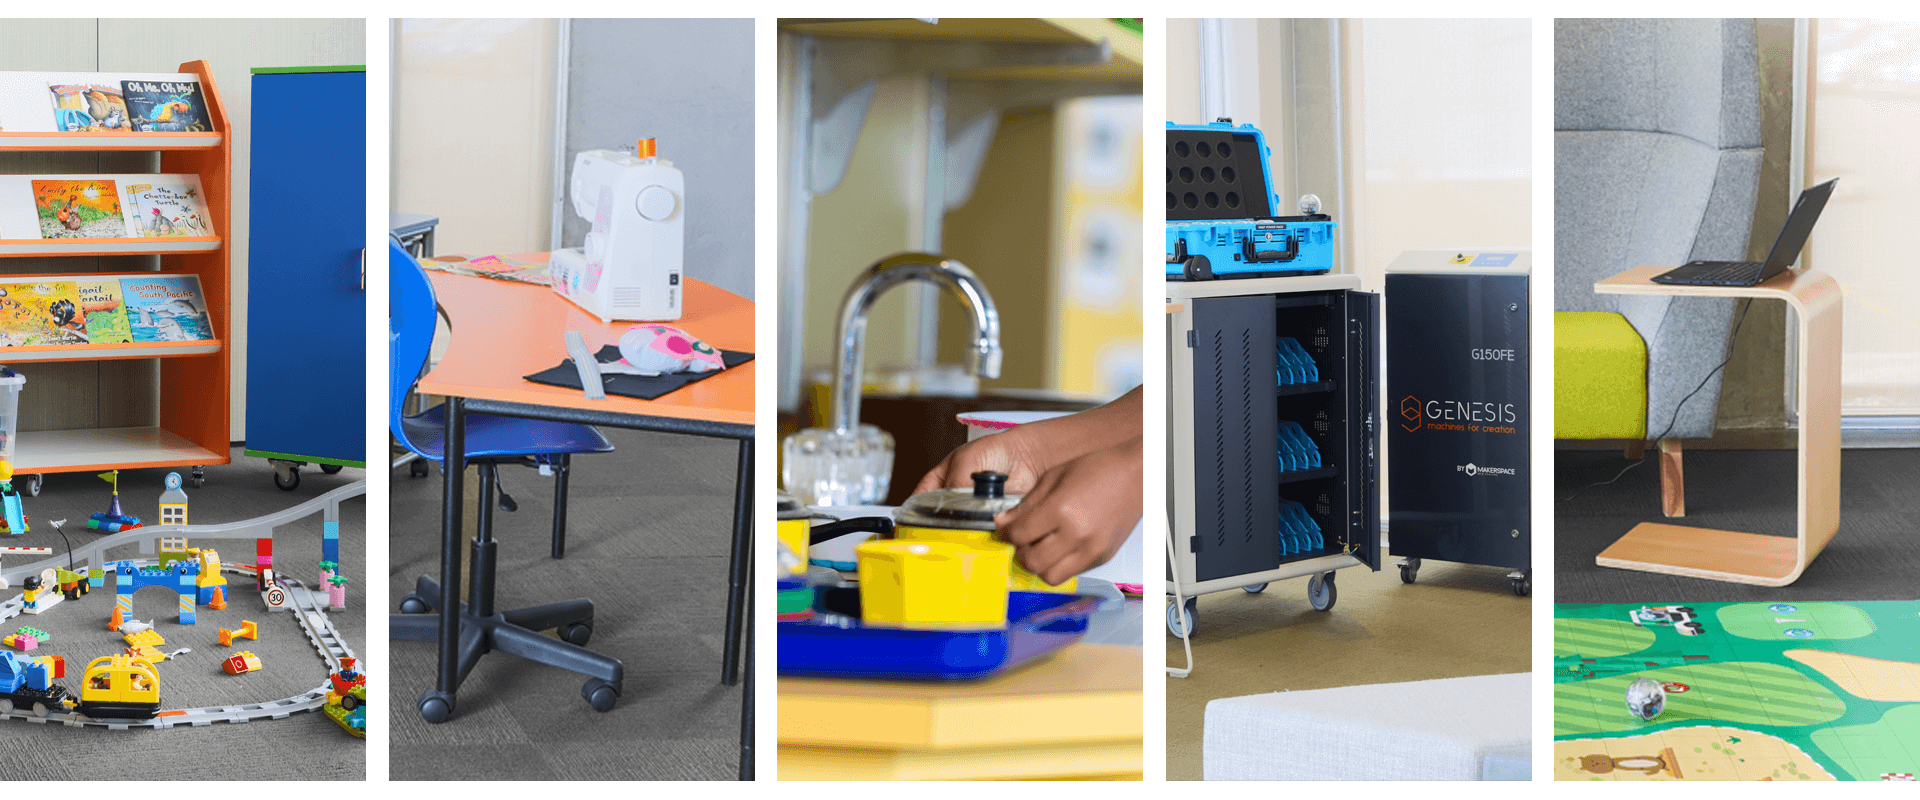
- Electronics area
- Wet area (paints, glue, etc)
- Planning space (whiteboard wall)
- Coding area
- Crafting area
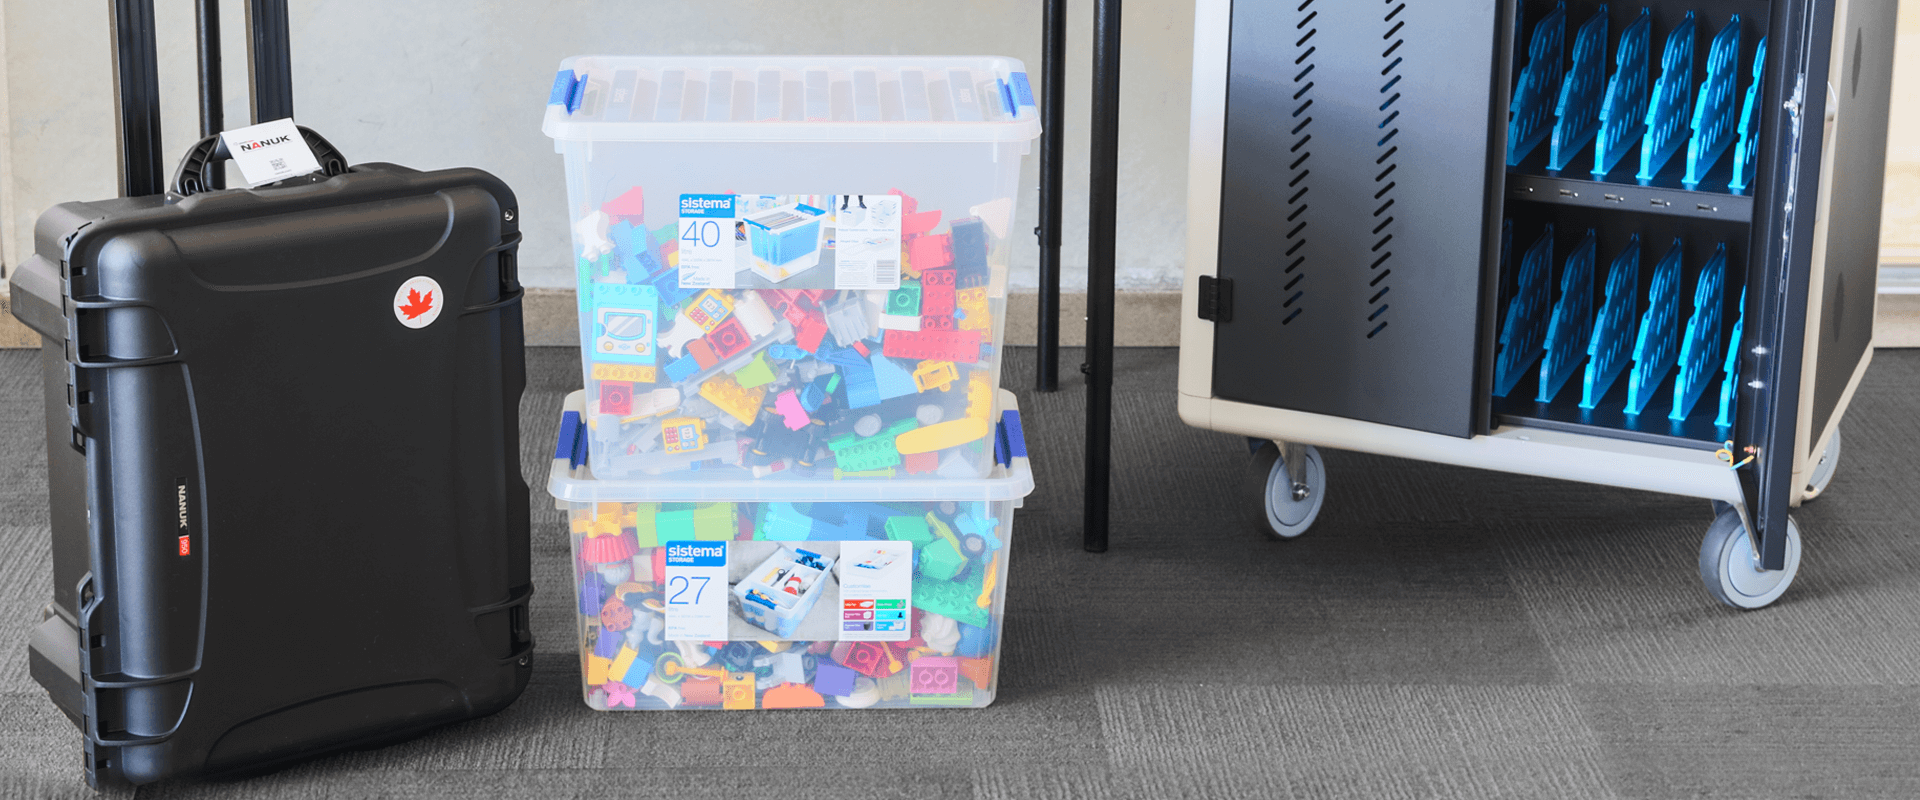
4. Thoughtful storage solutions
Good storage is a vital part of every makerspace. Sometimes your storage will be integral to your set up.
Tips
- Ease of access
Ensure storage is easily accessible to your students
- Safety
Any items that require permission to use, or teacher supervision, should be clearly marked and stored as such. Consider lockable storage for items that require teacher supervision.
- Multi-purpose storage
Make the most out of every item in your makerspace! Some storage solutions come with more than one purpose. For example chargeable device docking stations, or units with whiteboard sides.
- Organisation
Having a clear system with storage enables students to easily know which items they can use, and where to put them back when they're done. Some schools use a traffic light system, green for 'free to use', yellow for 'ask for permission' and red for 'teacher supervision required'. You can colour-code the storage these items live in, as well as matching the actual products with coloured stickers or tape.